![[Previous]](../prev.gif) |
![[Contents]](../contents.gif) |
![[Index]](../keyword_index.gif) |
![[Next]](../next.gif) |
![[Previous]](../prev.gif) |
![[Contents]](../contents.gif) |
![[Index]](../keyword_index.gif) |
![[Next]](../next.gif) |
Photon TCP/IP and dialup configuration tool
 |
You must be logged in as root to make changes with phlip. |
phlip [options]
| If server_name is: | This server is used: |
|---|---|
| node_path | node_path/dev/photon |
| fullpath | fullpath |
| relative_path | /dev/relative_path |
The phlip command starts Photon's TCP/IP configuration manager. It's the front end for netmanager; it reads and writes the /etc/net.cfg configuration file.
When phlip starts, it invokes netmanager -w all to dump the current snapshot of all network configuration to the file /etc/net.cfg. It then reads the file and displays the data.
If you make changes and click Apply, phlip writes all its data and spawns netmanager -r all. If netmanager reports any errors, phlip displays them in a popup window.
After netmanager has applied the changes, phlip spawns it again to get an up-to-date copy of the network settings (netmanager -w all). Any inconsistencies between the contents of the file after phlip wrote it out and asked netmanager to apply them, and after netmanager grabbed the latest settings, are changes that for some reason, netmanager couldn't make. The netmanager should have reported these problems when it ran into them. If netmanager printed those errors, phlip should have brought up a popup window. (To check for inconsistencies, use phlip -d.)
If you make changes and simply click Done instead of Apply, phlip writes the data to net.cfg, runs netmanager -r all to apply the changes, reports any errors that netmanager prints, but then exits immediately, without updating the file and redisplaying the information.
 |
Remember that your network configuration isn't really a file, it's the state of all the network software currently running. Interfaces come up and go down, nameservers and routes come and go. The file is only a starting point. Both phlip and netmanager use net.cfg more as a scratch pad for communication. |
If you have obtained a DHCP IP address from the DHCP server and then you switch from DHCP mode to manual mode, the DHCP address is released to the server.
The phlip tool displays the TCP/IP Configuration window containing a set of tabbed dialog boxes. You configure your network connections by entering information in various fields in the dialog boxes. The following section shows the dialog boxes and how to fill in the information required.
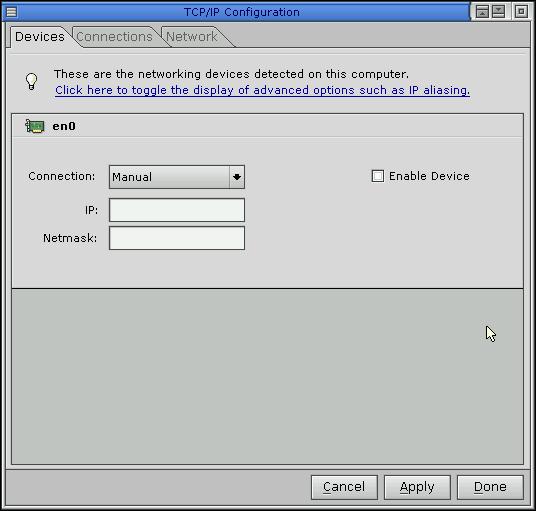
This screen gives you information about all the network interfaces detected on your computer. The name of the interface is shown next to an icon depicting a network card in the top right-hand corner of each pane.
If you're configuring a manual connection, you just have to enter your IP address and netmask:
If you select a DHCP connection, you are given the opportunity to fill in two optional fields, ID and Server IP:
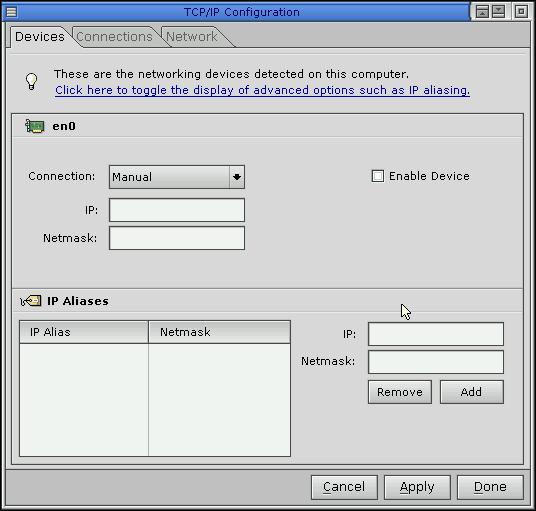
If you display the advanced options, you will see an additional pane showing the IP aliases for this interface. To add an IP alias, simply fill in the IP and Netmask fields then click the Add button. To remove, highlight the alias and click Remove.
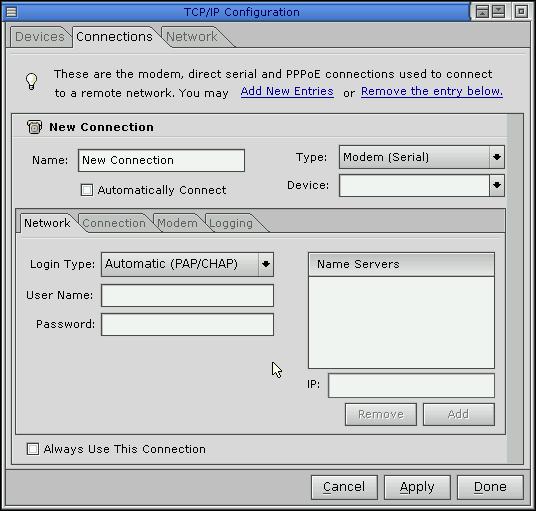
This screen displays information about all the connections you can enable. The top pane shows the connection's name (this name will be shown in associated applications such as phdialer), its type, and its interface device.
If you want applications to automatically connect the system to your network or ISP, use the Automatically Connect check box. If you don't use this checkbox, the dialer will be started and you will have to initiate the connection. (For more information on automatic TCP/IP connection, see /etc/autoconnect.)
If you want to specify a default connection for applications to use, check Always Use This Connection for that connection.
The Network pane in this screen enables you to select which login type the connection will use:
This pane also allows you to enter optional nameservers if your server doesn't provide this information.
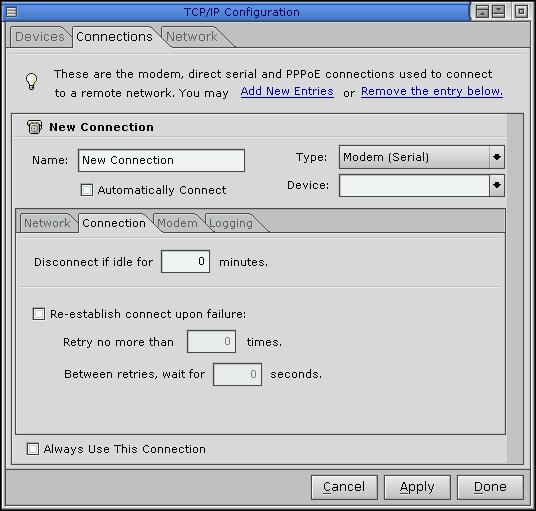
The options in this pane are self-explanatory.
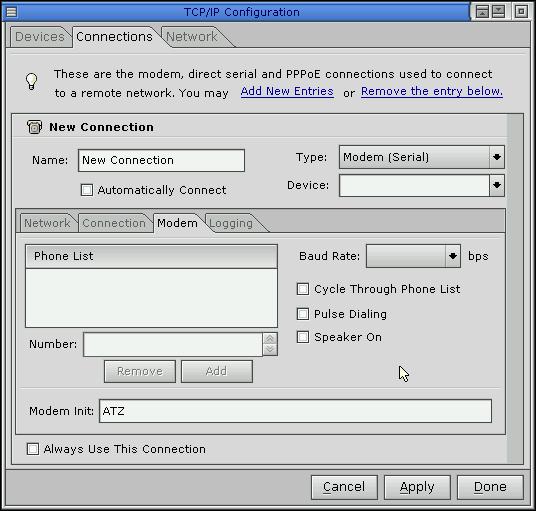
This pane is shown only for modem interface connections. Most of the options are self-explanatory.
The Baud Rate selector is provided for those cases where the modem speed isn't auto-negotiated; you could also use this option to set the baud rate lower than would be auto-negotiated (you might do this for noisy connections when you want to reduce communication errors).
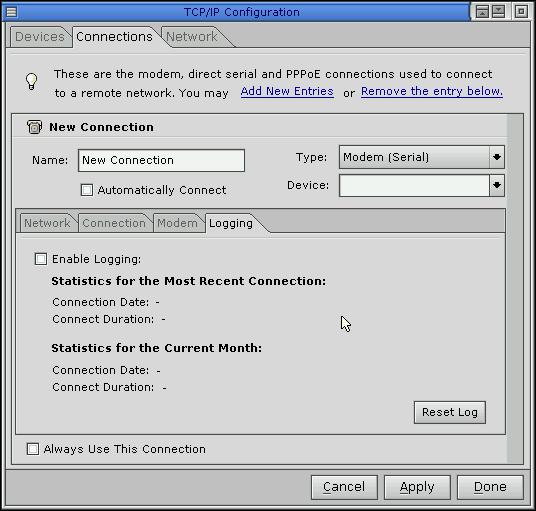
If you enable logging in this pane, debugging information is logged to syslogd. This pane also shows administrative information about the selected connection.
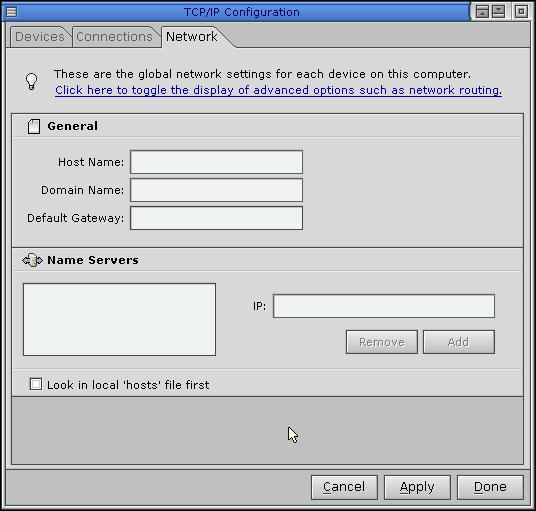
A check box in this pane allows you to force the connection to look into the local /etc/hosts file for hostname lookup before consulting the network server for this information.
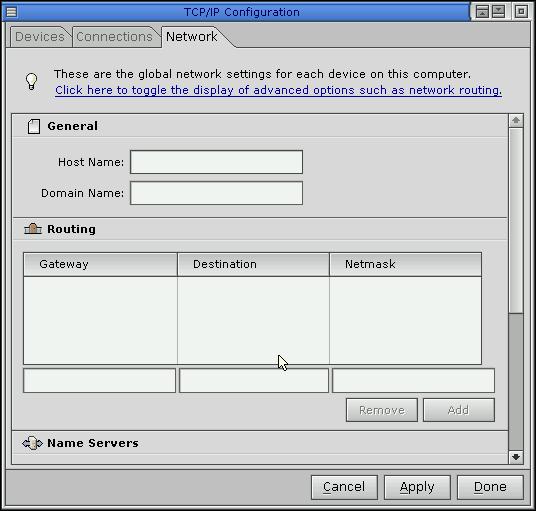
The additional panes show information such as:
You can add or delete gateways or search suffixes as required.
Show the current version, build time and the files that phlip will edit (use this to confirm that you have the latest information):
phlip -v
/etc/autoconnect, ifconfig, netmanager, route
Using the Photon microGUI in the Neutrino User's Guide
![[Previous]](../prev.gif) |
![[Contents]](../contents.gif) |
![[Index]](../keyword_index.gif) |
![[Next]](../next.gif) |